From Script to Storyboard: Using AI to Plan Your Social Video Content in 2026
From Script to Storyboard: The Complete AI Workflow for Writers and Creators in 2026
Every writer shares the same frustration: you can see the story perfectly in your head — the dramatic lighting, the camera angles, the exact expression on your character's face in the key scene — but translating that vision into something a producer, a collaborator, or an audience can actually see has always required either expensive professionals or serious technical skills.
In 2026, that gap has closed. Whether you are a novelist building a pitch deck to send to agents, or a solo creator planning a YouTube Short before you hit record, AI tools can take you from a written script to a fully visualised storyboard in a single afternoon.
Here is the complete workflow.
At a Glance: The 2026 Script-to-Storyboard Stack
| Phase | The Job | The Tool |
|---|---|---|
| 1. The script | Writing vivid, camera-ready scene descriptions | Sudowrite or StoryLab.ai |
| 2. The structure | Mapping the visual flow frame by frame | Boords |
| 3. The visuals | Generating consistent characters across every frame | Katalist AI |
| 4. The shortcut | Turning a script directly into a rough video cut | InVideo AI |
Step 1: Write a camera-ready script
You cannot storyboard a blank page, and you cannot storyboard vague literary prose either. AI image and video generators do not understand internal emotion. If your script says "his heart ached with the weight of a thousand lost yesterdays," the AI does not know what to draw.
What you need before you touch any visual tool is a scene written in physical, sensory, cinematic language — what the camera would actually see.
For fiction writers and novelists: Sudowrite
Read our full Sudowrite review here
Highlight any noun or setting in your draft — "a cyberpunk alleyway," "the interrogation room," "the edge of the cliff" — and use Sudowrite's Describe feature. It generates immediate multisensory detail: neon reflections in puddles, the smell of ozone, the hard shadows of a single overhead light. That concrete imagery is exactly what visual AI tools need to generate the right frame.
Sudowrite can also rewrite a standard prose chapter into formal screenplay format — scene headings, action lines, and dialogue blocks — which makes breaking it into individual storyboard shots significantly easier.
👉 Generate your visual scene descriptions with Sudowrite
For social creators and video marketers: StoryLab.ai
Read our full StoryLab.ai review here
If you are planning a TikTok, YouTube Short, or Instagram Reel rather than a novel adaptation, StoryLab.ai is the faster starting point. Feed it your concept and ask it to break the idea into beats — the opening hook, the main conflict moment, the call to action. Each beat becomes a labelled frame in your storyboard. You move from a loose idea to a structured shot list in minutes.
👉 Break your concept into beats with StoryLab.ai
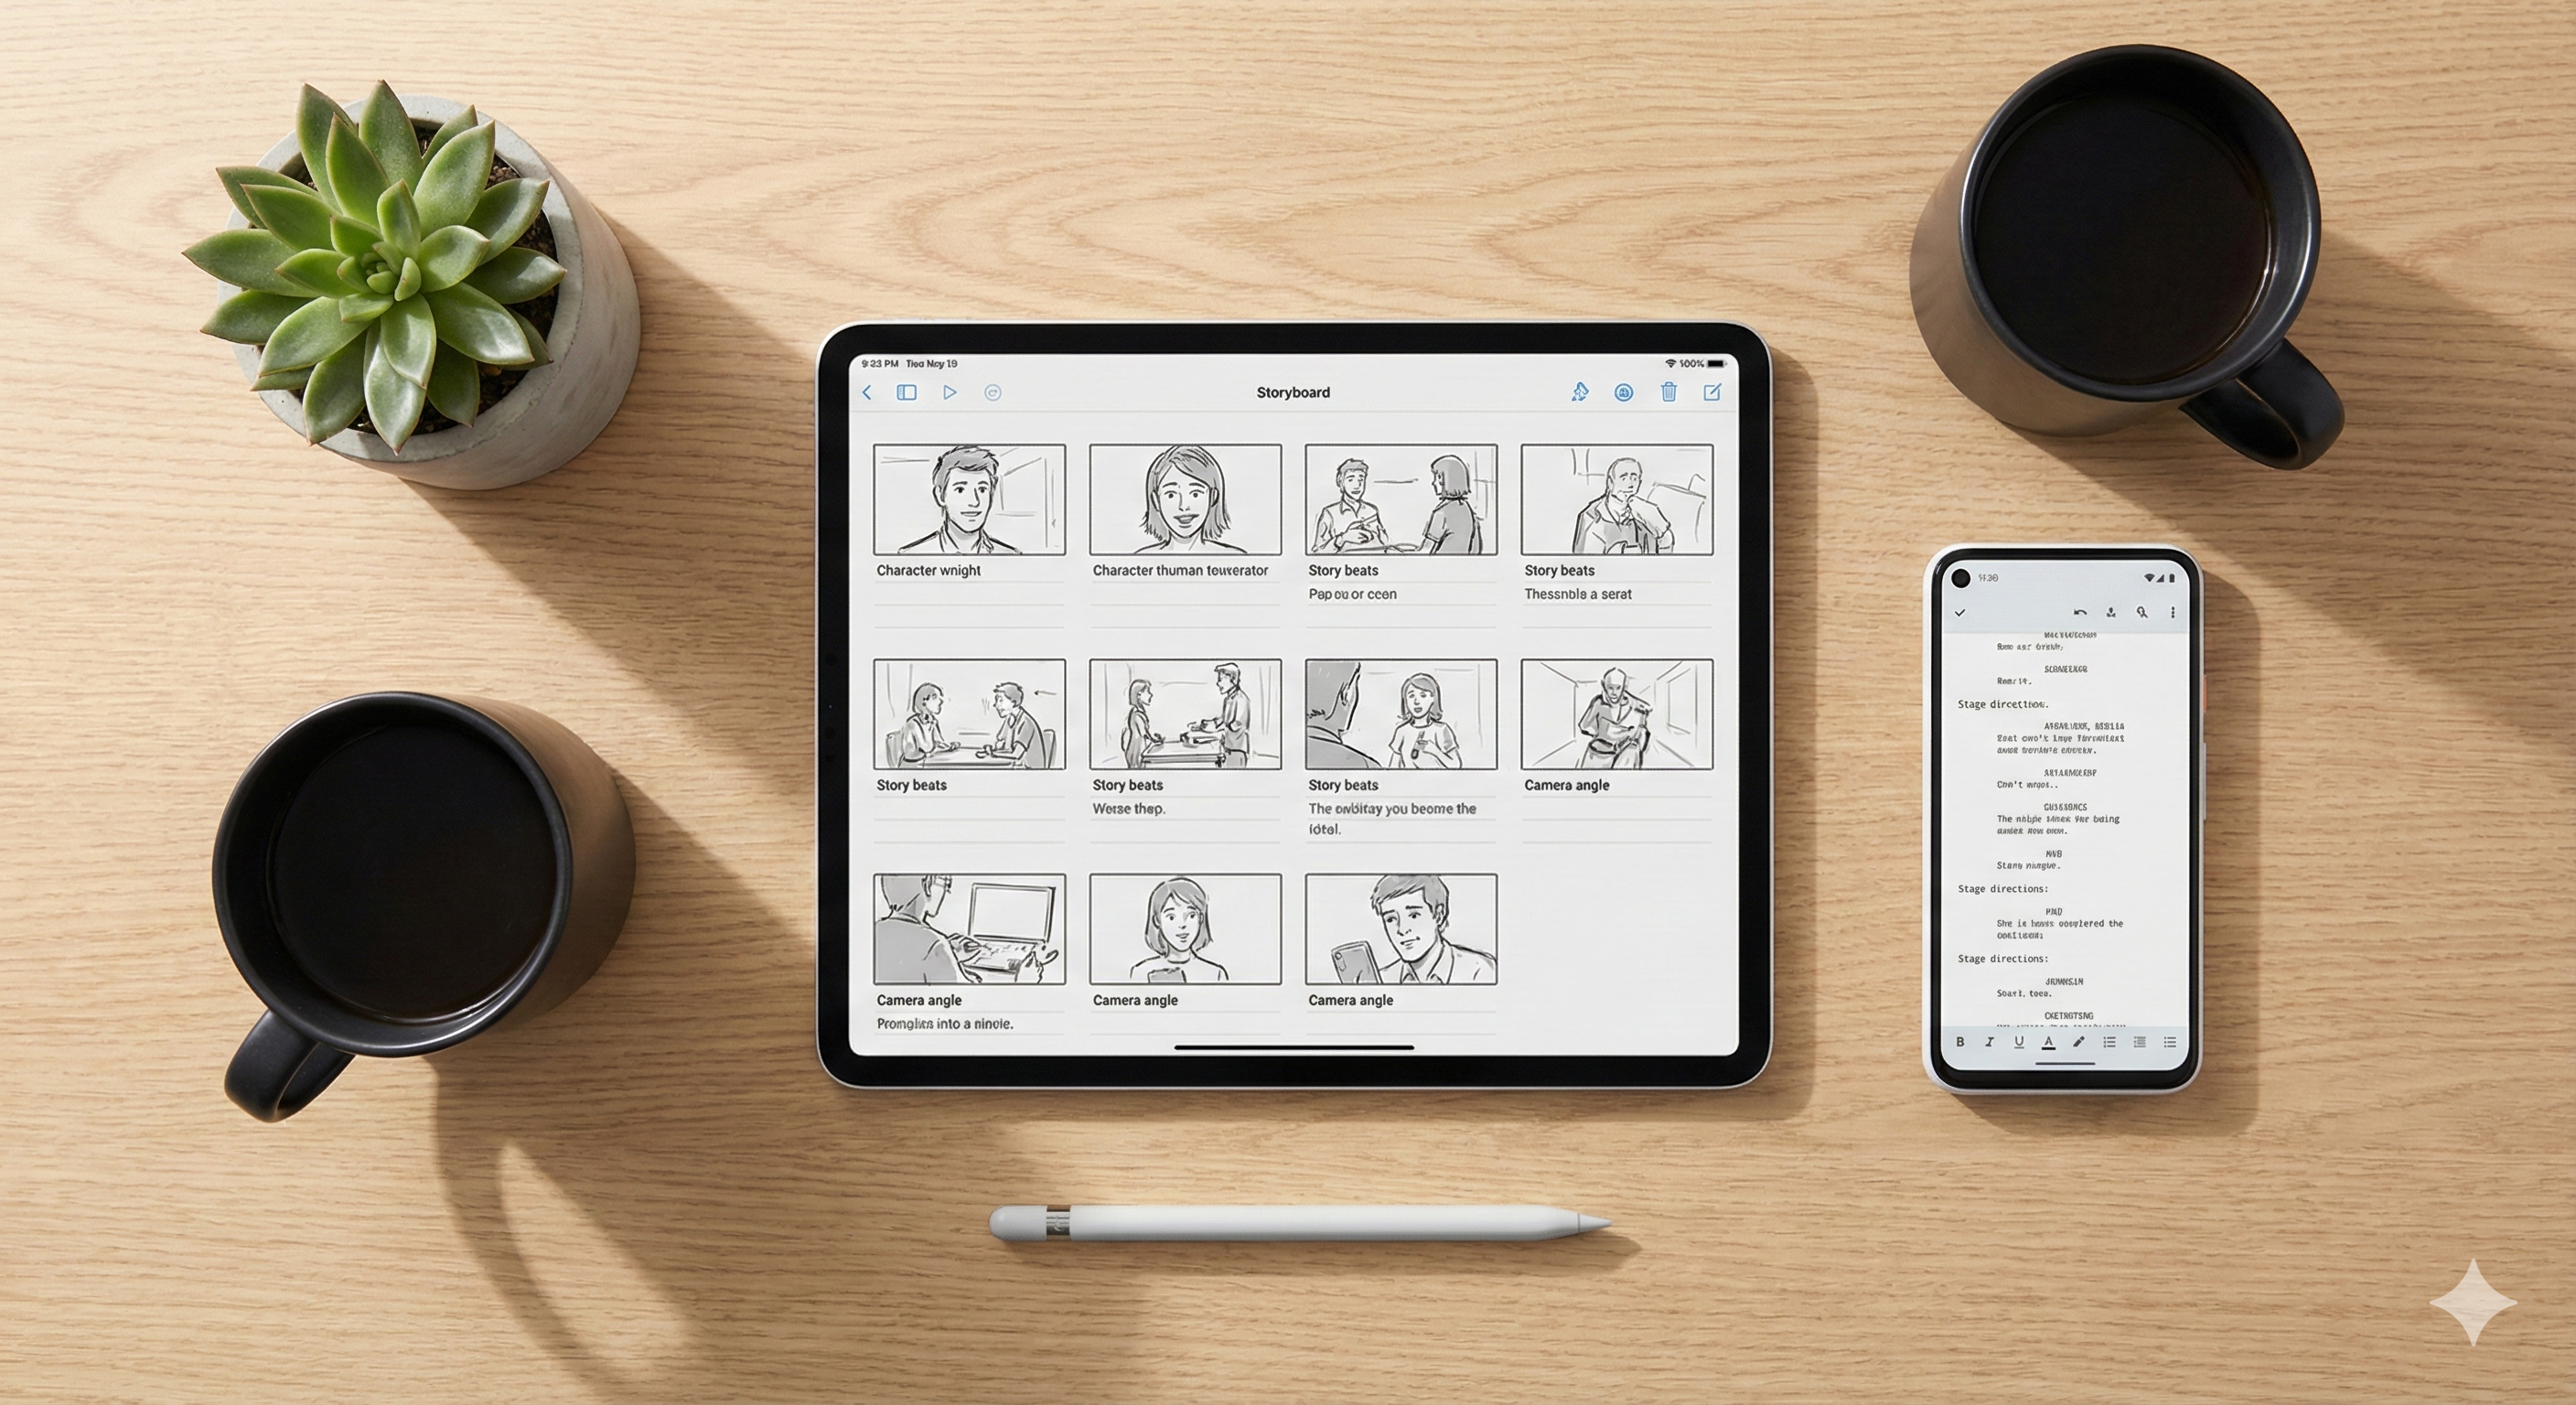
Step 2: Map the visual flow
Once your script is camera-ready, you need somewhere to lay it out frame by frame before you generate anything expensive. This is where most creators skip a step — and pay for it in the edit suite.
The tool: Boords
Read our full Boords review here
Boords is dedicated storyboarding software that lets you drag and drop script segments and pair them with image placeholders, sketches, or AI-generated frames. It turns an overwhelming wall of text into a manageable, frame-by-frame production plan.
The practical value: seeing your script broken into individual frames almost always reveals where the story needs more visual punch — a missing transition, a scene that runs too long, a beat that lands better earlier. Catching that in Boords costs you nothing. Catching it after you have generated or filmed everything costs you hours.
For social media content specifically, plan a visual change every 2 to 3 seconds. A 60-second video needs roughly 20 to 30 distinct frames in your storyboard.
👉 Map your visual flow in Boords
Step 3: Generate consistent visuals
This is where most first-time AI storyboarders hit the wall. General image generators — Midjourney, DALL-E, and most others — cannot draw the same character twice. Your protagonist looks like a completely different person in every frame. That inconsistency destroys the narrative coherence of a storyboard and makes it unpresentable to anyone you want to impress.
The tool: Katalist AI
Read our full Katalist AI review here
Katalist is built specifically to solve the character consistency problem for scripts and storyboards. The workflow:
- Import your screenplay scene from Sudowrite or your beat list from StoryLab.ai
- Katalist analyses the text and automatically suggests characters based on the descriptions in your script
- Customise each character's physical appearance — hair, age, clothing, build — until they match your vision
- The AI generates a visually consistent panel for each shot, using that same character model across every frame
- If you want to change a camera angle, switch from wide establishing shot to extreme close-up with a single click
When your characters look identical from frame 1 to frame 20, the storyboard feels like a real production document — not an AI experiment.
The boring truth about AI storyboarding: the AI does not know what makes a scene dramatic. You do. If you let the AI guess the camera angles, you will get flat compositions with everyone standing in the middle of the frame. You need to direct it deliberately. Use terms like "low angle shot looking up at the villain," "over-the-shoulder during the dialogue," or "wide establishing shot, dawn light, fog in the valley." The AI is your camera crew — but you are still the director.
👉 Generate consistent storyboard frames with Katalist AI
Step 4: The fast-track option — straight to rough cut
For creators on a tight deadline who need to move from script to rough video without building a frame-by-frame storyboard, there is a faster path.
The tool: InVideo AI
Read our full InVideo AI review here
Paste your polished script into InVideo AI and it automatically analyses the text, selects relevant stock footage, adds a voiceover, and generates a visual timeline that functions as a live rough cut. It will not replace a bespoke Katalist storyboard for a high-end short film or a professional pitch deck — but for a TikTok, YouTube Short, or Instagram Reel that needs to be live today rather than next week, it is the most direct path from words to watchable video.
Use Boords and Katalist when quality and consistency matter most. Use InVideo when speed is the priority.
👉 Turn your script into a rough cut with InVideo AI
Who this workflow is actually for
Fiction writers and novelists use this stack to build pitch decks that stand out. Sending a visual PDF storyboard alongside a query letter immediately separates you from the other authors in the slush pile. Visualising a complex action scene or fantasy setting before you write the chapter also helps you catch plot holes before they are baked into the manuscript. And the storyboard frames export directly to Instagram Reels and TikToks for book marketing.
Solo creators and video marketers use this stack to plan before they produce. Skipping the storyboard phase and generating or filming based on a loose script almost always results in missing scenes, broken pacing, and expensive re-shoots. Twenty minutes in Boords and Katalist prevents hours in the edit suite.
Frequently Asked Questions
Do I need drawing skills to use Boords or Katalist? No. Both platforms are built for non-artists. Katalist generates the visual frames from your script descriptions. Boords accepts stock images, AI-generated frames, or simple text placeholders — you do not need to sketch anything.
Can I turn my storyboard into a book trailer? Yes. Once your frames are generated in Katalist, pull them into InVideo, add motion effects and music, and use ElevenLabs or Murf.ai to add a cinematic voiceover. That is a complete book trailer workflow at near-zero budget. We cover that in detail in our book trailer guide here.
How many storyboard frames do I need? For social media, plan a visual change every 2 to 3 seconds — roughly 20 to 30 frames for a 60-second video. For a novel pitch deck, 10 to 15 frames covering your key scenes is enough to convey the visual tone to an agent or producer.
What is the difference between Katalist and a general image generator? Character consistency. General image generators produce a different-looking character every time. Katalist locks a character model and reuses it across every frame, which is the foundational requirement for a coherent storyboard.
The complete stack
You are not just telling a story anymore — you have the tools to show it exactly as you see it in your head.
Transparency note: This site is reader-supported. If you click our link and make a purchase, we may earn a commission at no extra cost to you. We only recommend tools we have genuinely reviewed.
- 👉 Write camera-ready scenes (novels): Sudowrite
- 👉 Write camera-ready scripts (social video): StoryLab.ai
- 👉 Map your visual flow: Boords
- 👉 Generate consistent storyboard frames: Katalist AI
- 👉 Fast-track to rough cut: InVideo AI
Listings related to From Script to Storyboard: Using AI to Plan Your Social Video Content in 2026

InVideo
Create & edit AI videos, AI Avatars, UGC product ads and much more!
Katalist AI
Katalist AI converts your scripts into visual storyboards and videos with AI-powered scenes, character consistency, and one-click story visualization.
StoryLab.ai
Generate story ideas and prompts instantly with StoryLab.ai — perfect for writers, marketers, and creators seeking inspiration and creative flow.
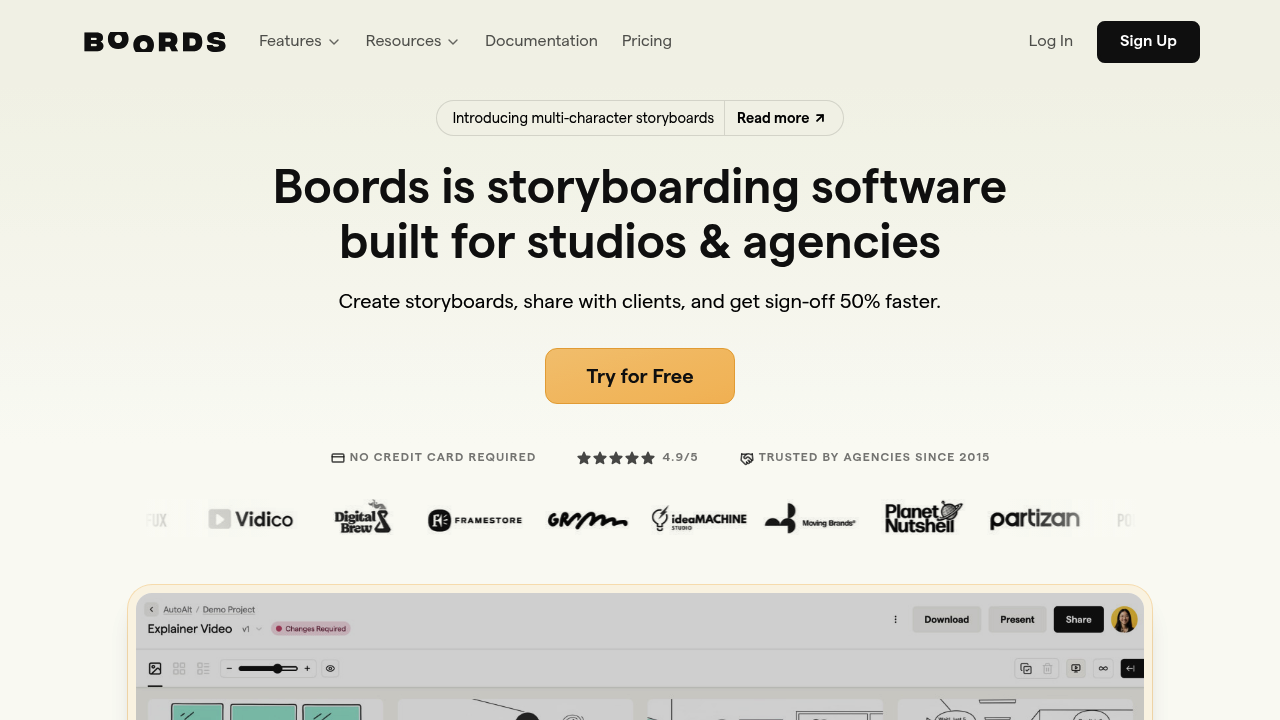
Boords
Master your visual narrative with Boords. Learn how this AI-powered storyboard tool turns scripts into professional production plans for creators and marketers.